Fixed: GeForce Experience Not Working [2022 Update]
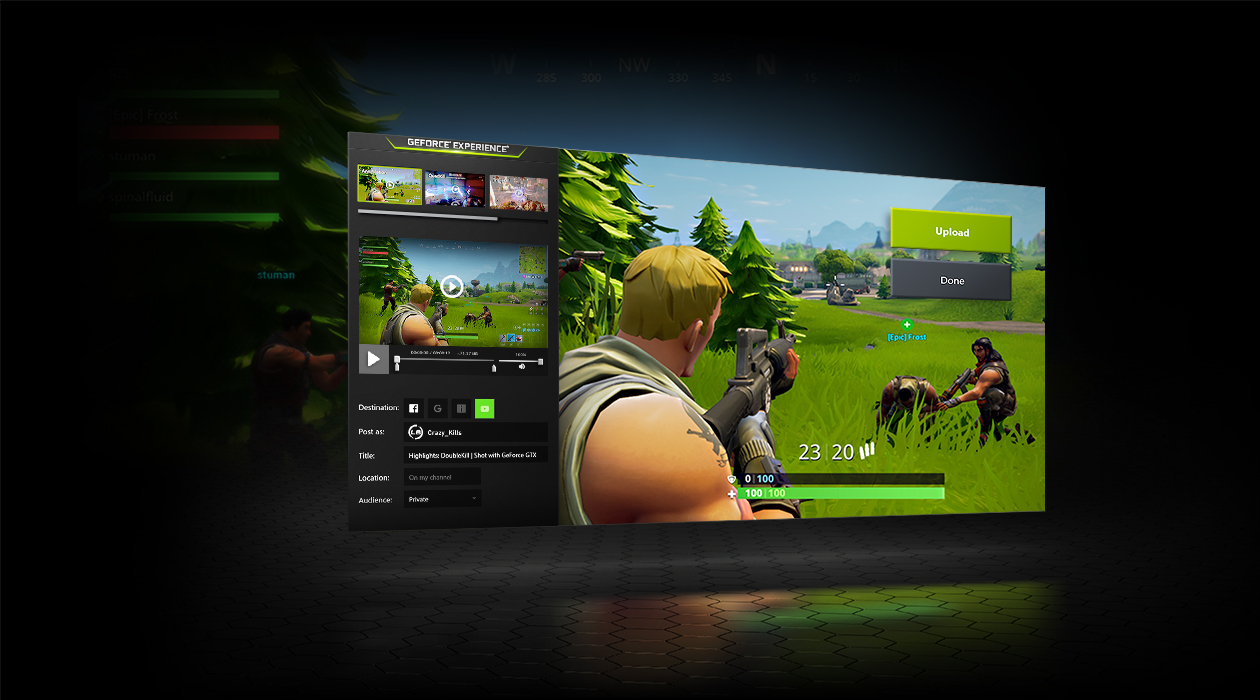
The GeForce Experience is a control panel from Nvidia that allows GeForce GPU owners to fine-tune their graphics settings on a per-game basis all in one place. However, apparently, the experience is not that smooth for some GeForce Experience users. They have reported that GeForce Experience is not working correctly and suddenly won’t open as before.
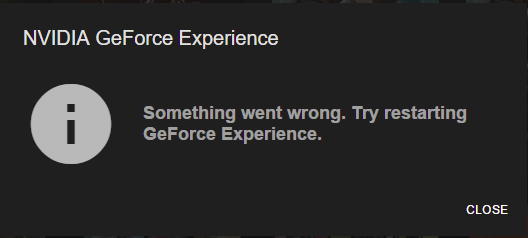
How to Fix GeForce Experience Not Working in Windows 10/11
Are you eager to get the full potential out of your GPU, but GeForce Experience won’t launch? Here’re some known fixes that you can try to get it working again in no time.
- Restart GeForce Experience
- Temporarily Disable your Antivirus
- Reinstall your Graphics Card Driver
- Change Nvidia Telemetry Container Settings
- Reinstall GeForce Experience
Fix 1: Restart GeForce Experience
If Nvidia GeForce Experience doesn’t open on your PC, you should first try to restart it. Chances are some iteration of the software is partially open on the PC. In this scenario, you simply have to close any associated processes and start the app again. Here’s how to do it properly:
1. Hit Ctrl+Alt+Del on your keyboard and select Task Manager from the available options.
2. On the Processes tab, locate all Nvidia-related programs. These may vary depending on your hardware configuration, but often include NVIDIA Settings, NVIDIA User Experience Driver, NVIDIA Backend, and more.
3. Simply click on each of the processes and hit End task below.
4. Once all the processes are shut down, restart your PC and launch GeForce Experience again.
If this method doesn’t solve your problem, don’t worry. There are more fixes for you to try!
Fix 2: Temporarily Disable your Antivirus
Sometimes your antivirus software may falsely identify the GeForce Experience as a potential threat. Thus, it may interfere with the operations of GeForce Experience and prevent it from working.
To test this, disable your antivirus program and try to open the GeForce Experience. If it opens, then you will need to add GeForce Experience as a permanent exception to your antivirus. Follow the instructions for your specific antivirus program to learn how to do this.
Alternatively, you can use a different antivirus solution to get rid of the problem.
Fix 3: Reinstall your Graphics Card Driver
Another reason why the GeForce Experience may not open on your computer is due to an outdated or corrupt Nvidia GPU driver. You can try reinstalling the latest driver for your graphics card to see if it helps. Here’s how:
1. Press Windows key + X and select Device Manager from the menu.
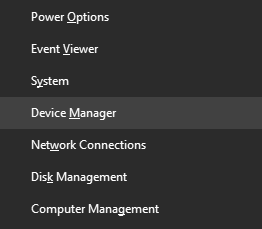
2. Locate Display adapters in there and expand the option.
3. Right-click on your graphics card entry and select Uninstall device.
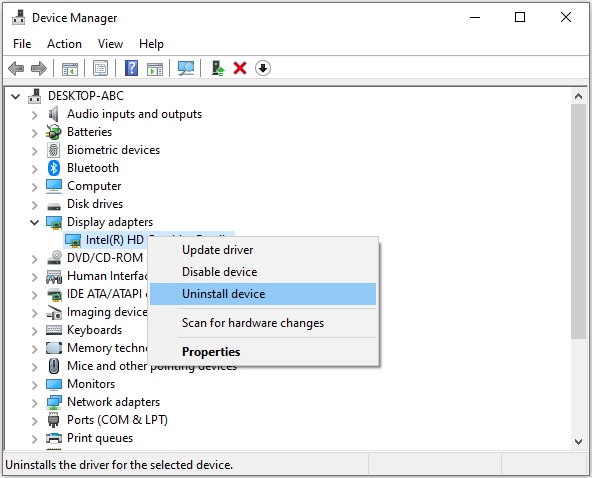
4. Confirm to continue the Uninstall process.
5. Once done, go to the official Nvidia Driver website and search for the most recent driver that is compatible with your variant of Windows OS.
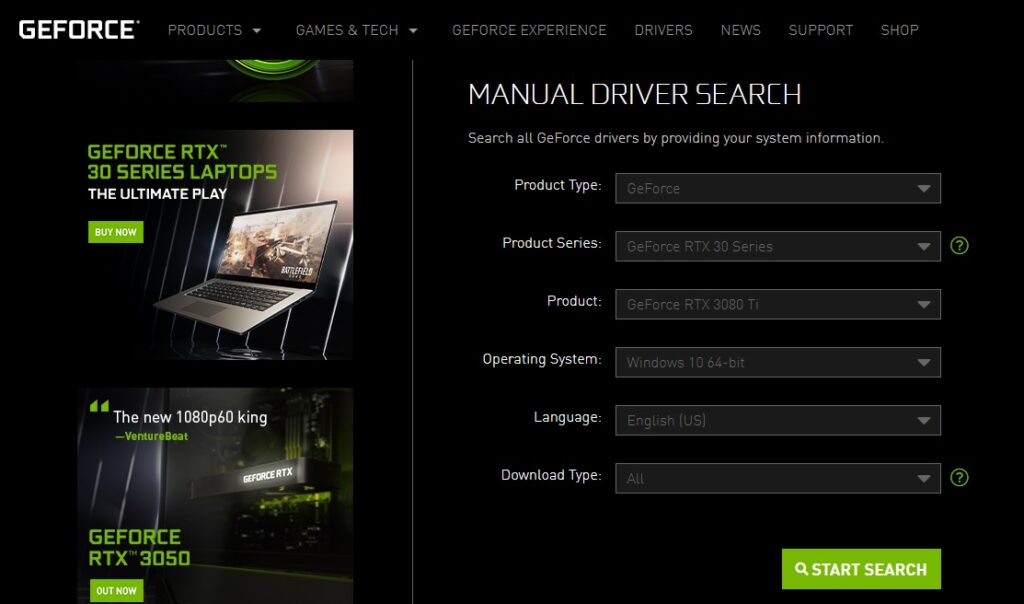
6. Download and install the driver on your computer. Then restart the PC for the changes to take effect.
Try opening GeForce Experience to see if it works as intended.
Fix 4: Change Nvidia Telemetry Container Settings
For some users, it’s the NVIDIA Telemetry Container which is causing the problem here. Users had to modify settings for the service to get GeForce Experience up and running again. Follow the steps below to do so:
1. Press Windows key + R to open the Run dialog box.
2. Type “services.msc” in the input field and press Enter.
3. Locate NVIDIA Telemetry Container from the list of services, right-click on it and select Properties.
4. Navigate to the Log On tab and select Local System account under the Log on as: option.
5. Navigate to the General tab and and click on Start if the service is not already running. If it is, then first Stop the service and then Start it again.
6. Close the NVIDIA Telemetry Container Properties window.
7. In the Services window, locate the NVIDIA GeForce Experience Service and click on it.
8. In the Application Description that appears to the left of the list of services, click on Restart the service.
9. If the above doesn’t work, right-click each of the NVIDIA services, select Properties then set Log on as: to Local System account as well as check the Interact with desktop option.
Now launch GeForce Experience to check if this does the trick for you.
Fix 5: Reinstall GeForce Experience
If none of the above methods work, you should try reinstalling GeForce Experience so you can get a fresh copy of the application on your computer. Here’s how to do it:
1. Press Windows key + R to open the Run dialog.
2. Type “appwiz.cpl” in the input field then press Enter to open the Programs window.
3. Look for GeForce Experience from the list of installed programs and click on it.
4. Hit the Uninstall button just above.
5. Follow the on-screen instructions until the program is fully removed from your PC.
6. Now visit the official Nvidia website and download the latest version of GeForce Experience.
7. Install the downloaded .exe file on your computer.
8. Once complete, simply load GeForce Experience and it should fire up as per normal.
Hope this article helps. If you have any questions or have other solutions to suggest, feel free to leave them in the comments section below.
READ NEXT

