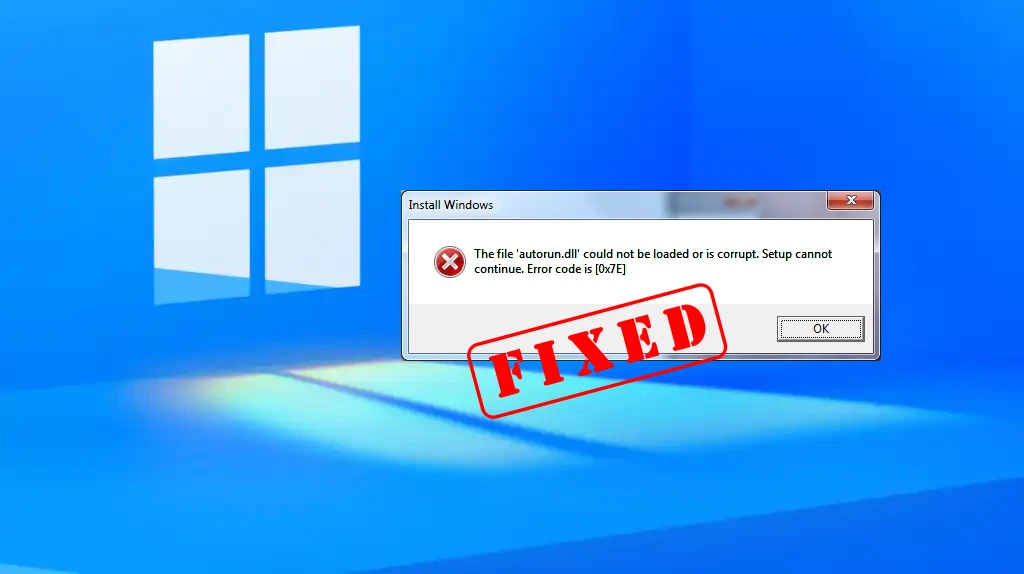
[Fixed] Windows Error 0x7E: Autorun.dll could not be loaded
Windows users are no strangers to encountering occasional glitches, and one such vexing issue is the “Error Code 0x7E” related to the AutoRun.dll file. This error often surfaces when crucial DLL files, which are the backbone of many applications and services, get misplaced or deleted.
Specifically, the AutoRun.dll file plays a pivotal role in dictating how certain applications or Windows services should operate. When this file goes missing or is corrupted, it can lead to a cascade of problems, including the inability to run specific programs or even use the computer efficiently.
Most commonly reported by Windows 10 users, this error manifests in messages like “Autorun.dll not found” or “The file autorun.dll is missing.” In this article, we’ll delve deep into the root causes of this error and provide comprehensive solutions to get your Windows system back on track.
Common Autorun.dll Errors
Autorun.dll errors are common in Windows operating systems, especially Windows 10 and 11. Here are some of the most frequently encountered Autorun.dll errors:
- “Autorun.dll not found.”
- “The file autorun.dll could not be loaded or is corrupted. setup cannot continue error code is 0x7e”
- “The file autorun.dll is missing.”
- “Cannot register autorun.dll.”
- “Cannot find C:\Windows\System32\\autorun.dll.”
- “Autorun.dll Access Violation.”
- “This application failed to start because autorun.dll was not found. Re-installing the application may fix this problem.”
Causes of Error Code 0x7E in Windows 11/10
Error Code 0x7E can be caused by a variety of factors. Some of the common causes include:
Corrupted or missing autorun.dll file: If the autorun.dll file is damaged or deleted, it can lead to Error Code 0x7E.
Outdated device drivers: Incompatibility or outdated drivers can also trigger this error.
Malware infection: Malicious software can corrupt system files, including the autorun.dll file, leading to Error Code 0x7E.
Registry issues: Problems with the Windows registry can result in the occurrence of this error.
Hardware conflicts: Conflicts between hardware devices can cause Error Code 0x7E as well.
Methods to Fix Error Code 0x7E
Here are several methods you can try to fix Error Code 0x7E:
- Restart your computer
- Reinstall or Update Device Drivers
- Perform a System File Check
- Retrieve from the Recycle Bin
- Manually Obtain the Autorun.dll File
- Fix Autorun.dll’s Invalid Registry Entries
- Restore Windows to a Previous State
- Perform a Clean Installation of Windows
Method 1: Restart your computer
Sometimes, a simple restart can solve the issue. Here’s how to restart your computer:
1. Save your work and close all open programs.
2. Click on the Start menu, located on the bottom left corner of your screen.
3. Select the Power icon, which looks like a circle with a vertical line in the middle.
4. Click on Restart.
Method 2: Reinstall or Update Device Drivers
Outdated or incompatible device drivers can also cause Error Code 0x7E. To reinstall or update your device drivers, follow these steps:
1. Open the Device Manager by right-clicking on the Start menu and selecting Device Manager from the list.
2. Expand the category of the device with driver issues.
3. Right-click on the device and select Uninstall. Confirm any prompts if asked.
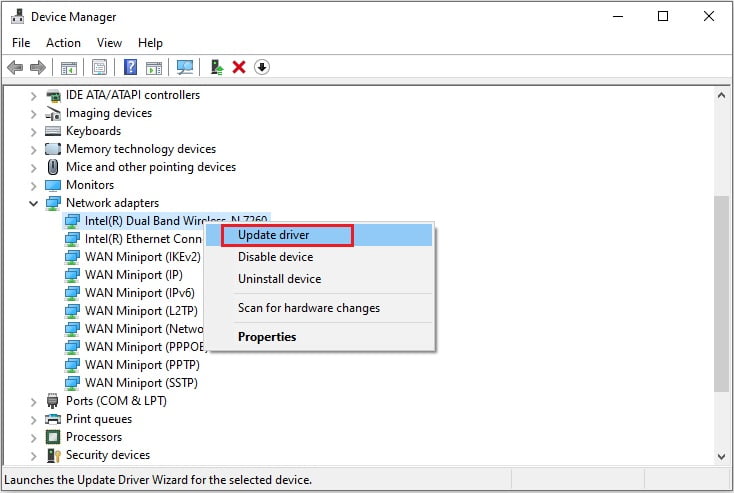
4. Restart your computer.
5. Windows will automatically reinstall the drivers for the device.
Method 3: Perform a System File Check
System File Check (SFC) is a built-in Windows utility that scans for and repairs corrupt system files. To perform a System File Check, follow these steps:
1. Open the Command Prompt as Administrator by right-clicking on the Start menu and selecting Command Prompt (Admin).
2. Type “sfc /scannow” (without quotes) in the Command Prompt window and press Enter.
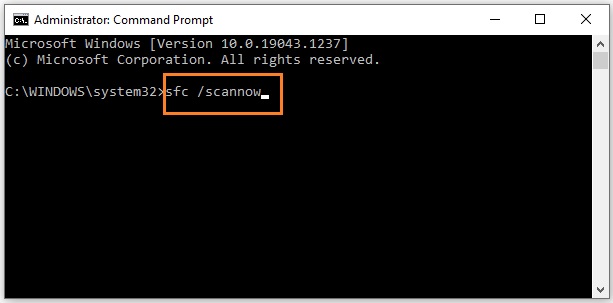
3. Wait for the scan to complete. This may take some time.
4. Restart your computer once the scan is finished.
Method 4: Retrieve from the Recycle Bin
Occasionally, the error may arise due to the inadvertent deletion of the autorun.dll file. If this is the case, you can easily retrieve it from the Recycle Bin. Here’s how:
1. Access the Recycle Bin on your desktop.
2. Utilize the search function and enter “autorun.dll“.
3. If the file appears in the results, right-click on it and select Restore.
Method 5: Manually Obtain the Autorun.dll File
If the autorun.dll file is missing, you can manually download it from Microsoft’s official website. This might resolve the error code 0x7e associated with autorun.dll.
1. Search for the autorun.dll file on Google or directly on Microsoft’s official website.
2. Once downloaded, move the file to the directory “C:\Windows\System32”.
3. Conclude by rebooting your computer.
Method 6: Fix Autorun.dll’s Invalid Registry Entries
At times, DLL errors are a result of issues within the Windows Registry. Thus, it’s crucial to rectify any corrupt registry entries.
However, manually adjusting the Registry can be perilous. A single misstep could jeopardize your entire system. Hence, it’s advisable to employ a trusted automatic Registry Repair Tool. This tool will meticulously scan your computer, mend corrupted registry entries, and potentially resolve the DLL error.
If rectifying the registry entries doesn’t resolve the autorun.dll error code 0x7e, consider executing a system restore.
Method 7: Restore Windows to a Previous State
If you recently made changes to your system that might have triggered Error Code 0x7E, you can try restoring Windows to a previous state using System Restore. Please note that this method will remove any changes made after the selected restore point. Here’s how to restore Windows:
1. Click on the Start menu.
2. Type “System Restore” and select the corresponding option.
3. Follow the on-screen instructions to choose a restore point and start the restoration process.
4. Restart your computer once the restoration is complete.
Method 8: Perform a Clean Installation of Windows
If all else fails, performing a clean installation of Windows can be a last resort. This method will erase all data on your computer, so make sure to back up any important files before proceeding. Follow these steps to perform a clean installation of Windows:
1. Obtain a Windows installation media (DVD or USB).
2. Boot your computer from the installation media.
3. Follow the on-screen instructions to install a fresh copy of Windows.
4. Install any necessary drivers and programs after the installation completes.
5. Restore your backed-up files, if applicable.
Conclusion
Error Code 0x7E can be frustrating, but with the methods discussed in this article, you should be able to resolve the issue. Whether it’s a simple restart or a more advanced solution like performing a clean installation of Windows, there are steps you can take to fix the problem. Remember to back up your important files and seek professional help if needed. By following these methods, you can avoid further complications and get your computer back up and running smoothly.