Diablo 4 Luban’s Rest Location, Rewards, Walkthrough
Hello, fellow adventurers! If you’re a fan of Diablo 4 and especially if you’re a Rogue, you’re going to love this guide. Today, we’re going to delve into the depths of Luban’s Rest, a dungeon that’s as challenging as it is rewarding. So, grab your weapons, put on your best gear, and let’s get started!
Luban’s Rest Location in Diablo 4
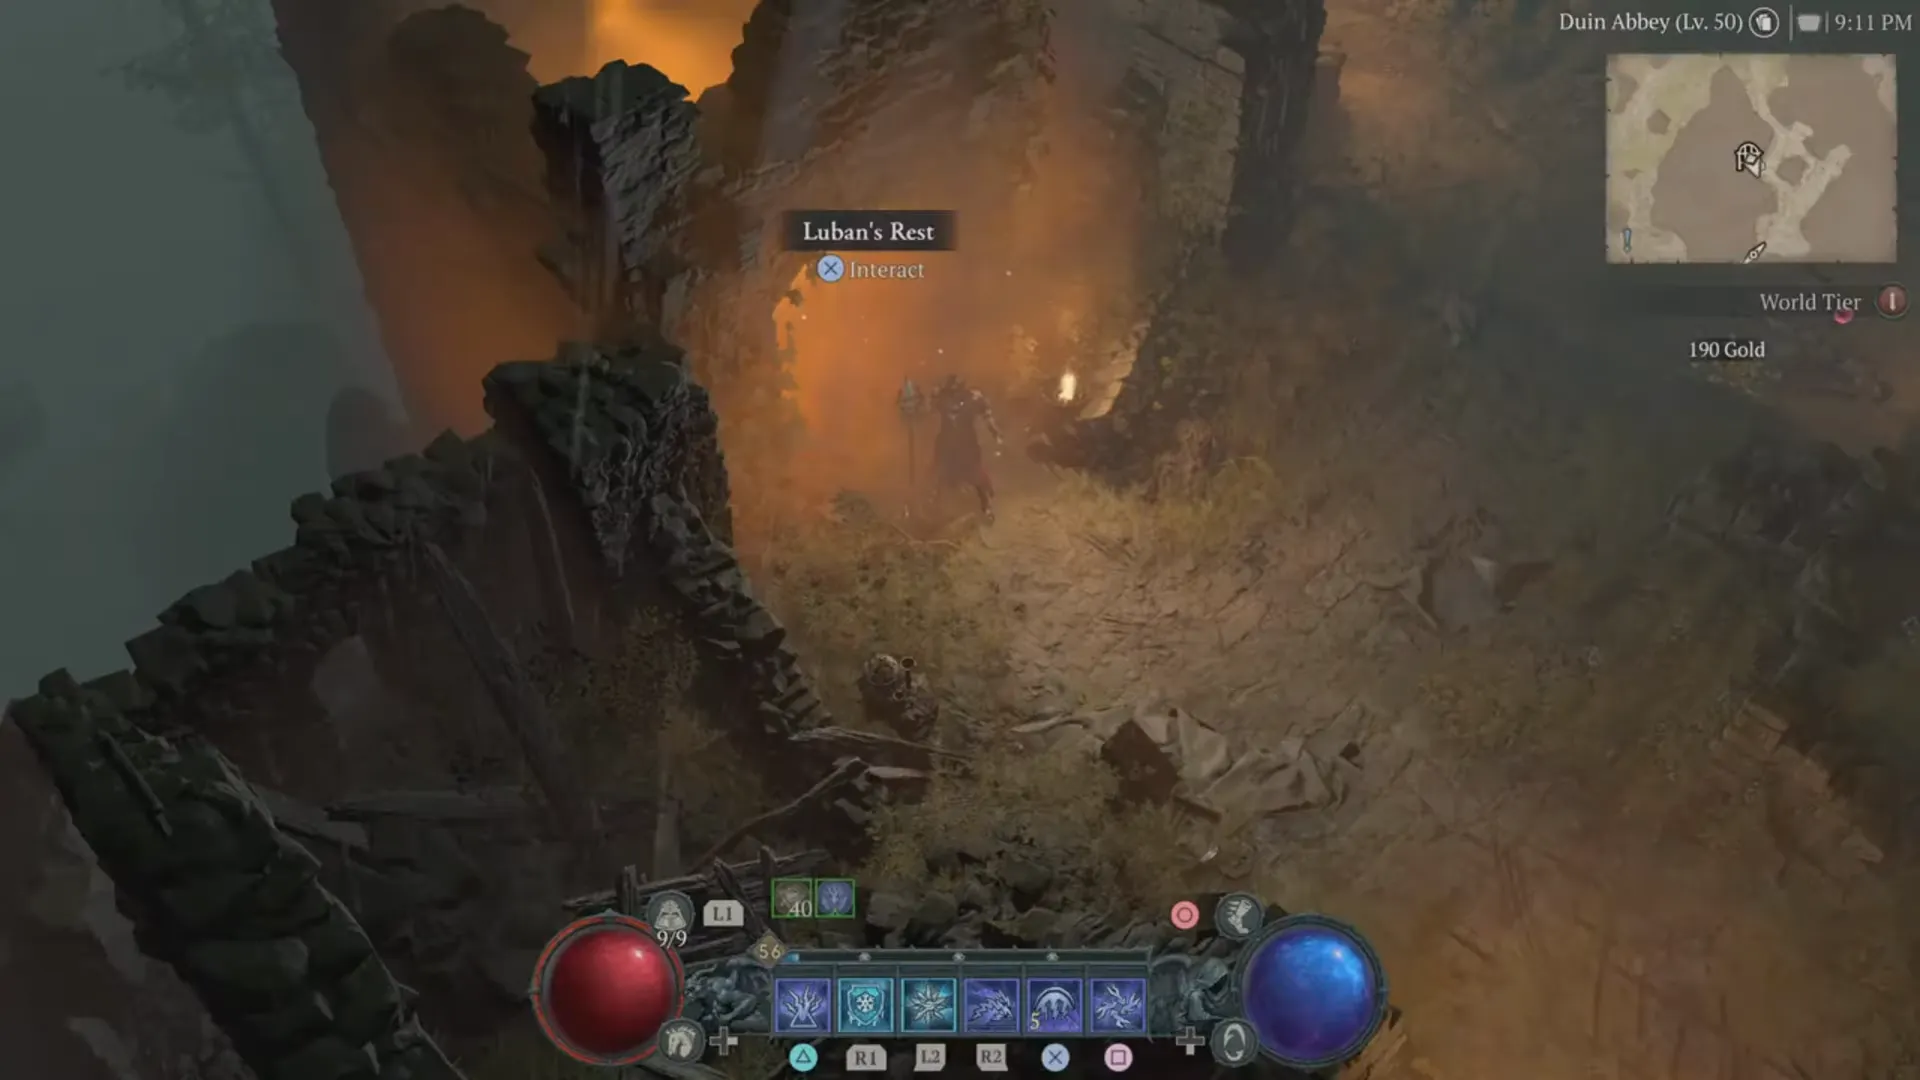
First things first, you need to know where to find this dungeon. Luban’s Rest is located south from the Scosglen region. You’ll have to venture past Caen Adar and Strand to reach this particular dungeon. Alternatively, you can fast-travel to the Corbach waypoint and then head south from there.
Personally, I found it easiest to start from the Caen Andar area, make my way to the Cinder Woods, and then head east. It’s a bit of a trek, but trust me, it’s worth it. The journey itself is filled with beautiful landscapes and eerie forests, setting the perfect tone for the dungeon ahead.
Rewards for Completing Luban’s Rest
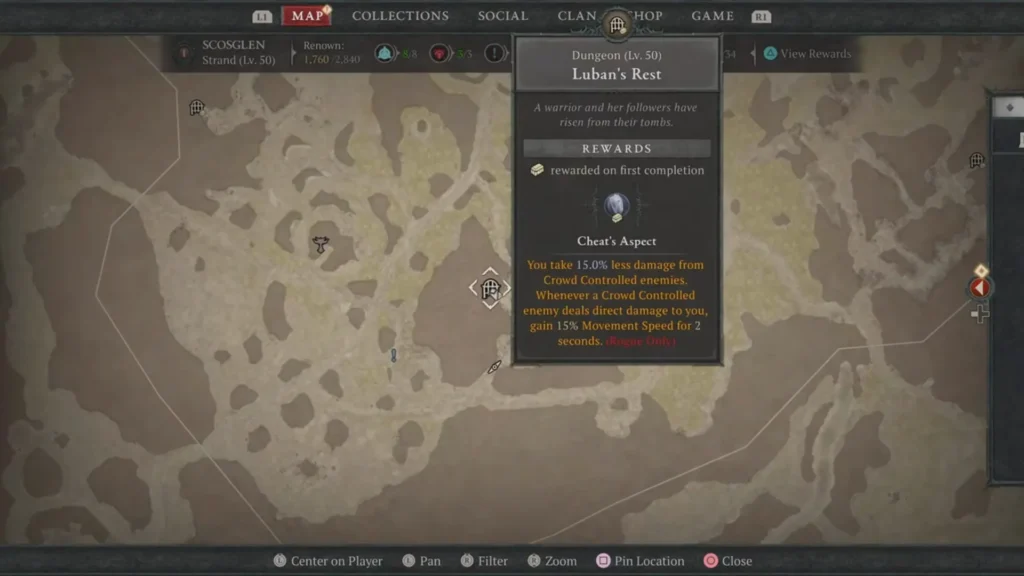
Now, let’s talk about the juicy part – the rewards. Upon completion of Luban’s Rest, you’ll unlock a certain aspect along with salvaging Gold drops from enemies and +30 Renown points. This Legendary aspect will allow you to take at least 15 percent less damage from CC enemies. Plus, you’ll gain a major boost in terms of movement speed when hit by a CC enemy. It’s a game-changer for your Rogue Build, believe me.
The aspect is particularly useful when you’re surrounded by enemies and need to make a quick escape. I remember this one time when I was cornered by a group of Bloodletters. Just when I thought it was game over, the aspect kicked in, and I was able to dash out of the crowd, leaving the confused enemies behind. It was a close call, but it made me appreciate the value of this aspect even more.
Luban’s Rest Dungeon Walkthrough
Clearing the Hallowed Halls
Once you enter Luban’s Rest, make your way to the Hallowed Halls. Here, you’ll face hordes of enemies. Your initial task is to eradicate all of this devilish scourge and clear the Hallowed Halls of them. It might take some time as these enemies will keep coming at you, but with the right strategy, you should be able to deal with them easily.
Remember, patience is key here. Don’t rush into the crowd, or you’ll be overwhelmed. Instead, try to lure a few enemies at a time and take them out one by one. It’s a strategy that has saved me more times than I can count.
Timed Event: Keep the Adventurers Alive
During your task of clearing the Hallowed Halls, you’ll come across two adventurers who are stuck in the Luban’s Rest dungeon. They came with the intention of purging the evil from this dungeon but were overwhelmed by the monsters inside. Your task is to keep them safe while killing hordes of enemies. This event will occur for one minute, and you need to keep at least one of the adventurers alive.
The enemies you’ll face during this event include:
- Clifflurker
- Bloodletter
- Outlaw
- Plaguebearer
- Snowy Outlaw (Elite)
- Bloodthirsty Outlaw (Elite)

Once you’ve accomplished this task, you’ll receive a Greater Radiant Chest as a reward. This chest will contain some gold along with other items such as the Chipped Sapphire, Dragon Staff, Battle Wand, etc. It’s like a mini celebration after a hard-fought battle.
Kill the Remaining Enemies
After proceeding further in Luban’s Rest dungeon, you’ll have to slay all the remaining enemies inside it. You’ll have to kill at least 20 enemies to rid the Hallowed Halls of these foul beasts. These will include some minor enemies that you encountered before in the Luban’s Rest, along with some elite enemies such as the Dreadful Outlaw, Thundering Clifflurker, etc.
This part of the dungeon is a test of your endurance. The enemies will keep coming, and you’ll have to keep fighting. But remember, every enemy you defeat brings you one step closer to the ultimate reward.
Acquire the Crypt Key by Killing the Bandit Captain
To get the Crypt Key, you’ll have to find and defeat the Bandit Captain. This Elite Bandit Captain will have affixes such as Poison Enchanted, Multishot, Summoner, and Plagebearer. Once the Bandit Captain is dead, he will drop the Crypt Key for you to acquire.
The fight with the Bandit Captain is one of the highlights of Luban’s Rest. It’s a challenging battle that will test your skills and strategy. But the feeling of victory when you finally defeat him and see the Crypt Key drop is simply indescribable.
Unlock the Crypt Door and Go to the Bare Bones
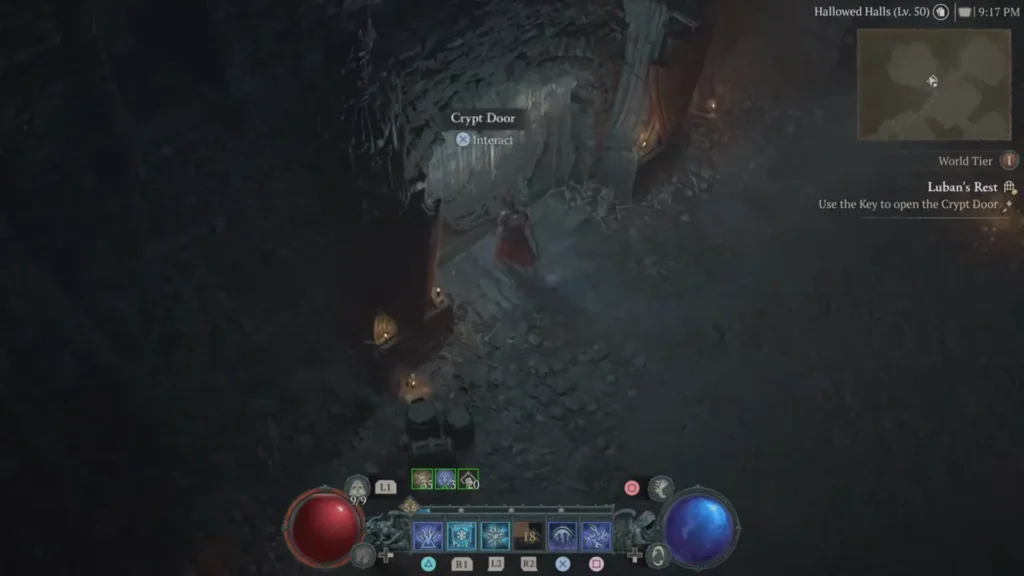
Use the key to unlock the Crypt Door. This will lead you to the Bare Bones area in Luban’s Rest. Here, you’ll have to destroy three Sentinel Statues. However, these statues will be surrounded by common and elite enemies, so be prepared for a fight.
The Bare Bones area is a maze of corridors and rooms, each filled with enemies and traps. It’s easy to get lost, but don’t worry. Just keep an eye out for the Sentinel Statues, and you’ll find your way.
Defeat the Tomb Lord Boss
Finally, you’ll have to face the Tomb Lord. He’s a tough opponent and will use a variety of ranged attacks along with summoning minions to aid him. If you’ve faced him before in some other dungeons such as the Maddux Watch, then you should be aware of his basic attacks and can defeat him with relative ease. If not, then you need to watch out for his attacks and then strike him back with your powerful attacks.
The fight with the Tomb Lord is the final challenge of Luban’s Rest. It’s a battle of endurance, strategy, and skill. But once you defeat him, you’ll know that all the challenges and hardships you faced were worth it.
And there you have it! That’s your complete guide to Luban’s Rest in Diablo 4. Remember, every dungeon run is a learning experience. So, don’t be disheartened if you don’t succeed at first. Keep trying, learn from your mistakes, and you’ll conquer Luban’s Rest in no time. Happy adventuring!