Fix: Arctis 7 Mic Not Working Issue [2020]
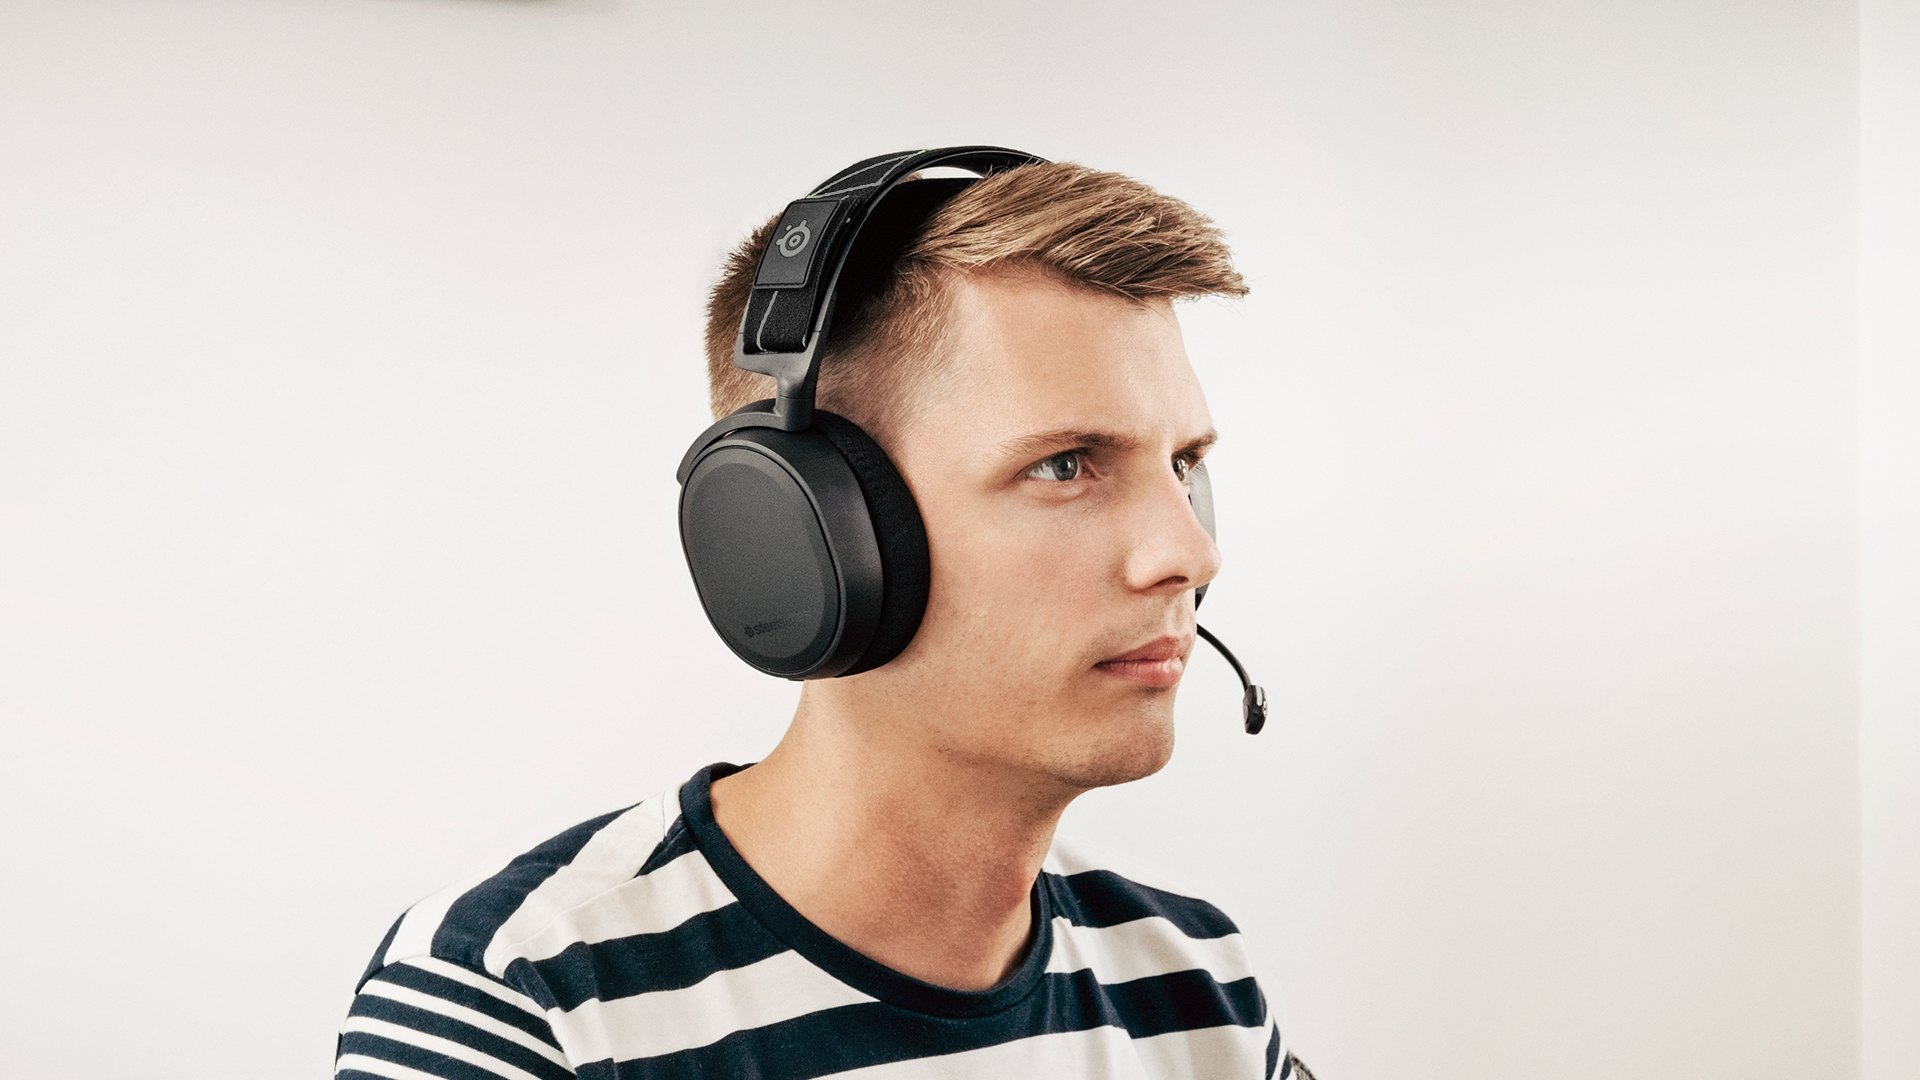
The SteelSeries Arctis 7 is a wireless gaming headset known for its premium sound, comfortable headband, and long battery life. It also brings a Discord-certified microphone, however, recently a lot of users reported that the mic is not working in their headset. This can be a frustrating problem while gaming, but don’t worry; it’s often quite easy to fix.
SteelSeries Arctis 7 Mic Not Working? Try these Fixes
- Check your connections
- Allow access to your microphone
- Adjust your audio settings
- Update your audio driver
- Configure the SteelSeries Engine software
Fix 1: Check your connections
First things first, if the mic on your Arctis 7 headset is not working, do some basic troubleshooting before you make any changes. Check your headset for loose cables and make sure all connectors are seated properly.
If you can’t see any problems with the connectors, try plugging your headset to a different port and see if this fixes your problem.
Fix 2: Allow access to your microphone
If your SteelSeries Arctis 7 microphone is not working, you should check to make sure that you’ve allowed the app you’re using the mic on access to your microphone. Here’s how to do it:
- Go to the Cortana search bar and type “microphone”, then click on Microphone privacy settings.
- Under the Allow apps to access your microphone section, make sure the toggle is On so that apps can access your microphone.
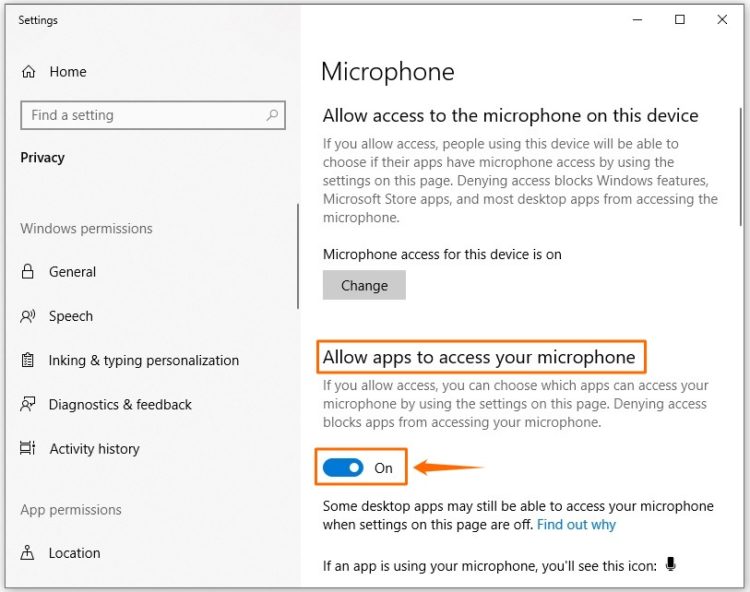
- Next, scroll down to the Choose which apps can access your microphone section and make sure the toggle for the app you’re trying to play the microphone on is turned On.

Check your Arctis 7 headset and see if the mic is working. If the problem persists, proceed to the next solution below.
Fix 3: Adjust your audio settings
Ideally when you plug into a new audio device, Windows will automatically detect it and set it as the default playback device. But that’s not always the case and sometimes you need to re-enable your headset microphone and set it as the default device manually.
Here’s how to do it:
- Press Win+R keys on your keyboard to open the Run dialog box, then type “control”and press Enter.
- In the Control Panel, select Large icons from the View by drop-down menu and click on the Sound icon.
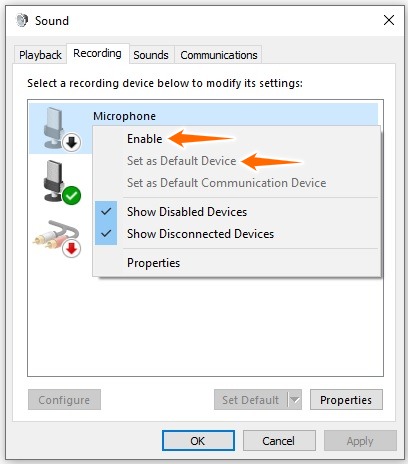
- Click the Recording tab.
- Now right-click on an empty space inside the device list and select Show Disabled Devices.
- Right-click the Headset Microphone and select Enable.
- Then right-click on it again and select Set as Default Device.
- Right click the Headset Microphone and this time select Properties.
- Click the Levels tab and drag the volume slider to highest.
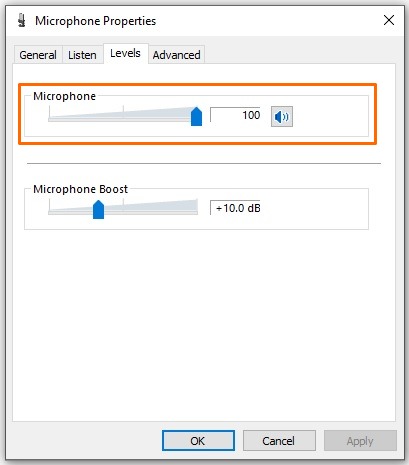
- Click OK to save your changes.
- Now check to see if the Arctis 7 mic not working issue has been resolved.
Fix 4: Update your audio driver
One of the most common causes of this problem is an outdated or a corrupt audio driver. So you should always make sure to keep your audio driver up-to-date. Here’s how to update your audio driver manually:
- Press Win+R keys on your keyboard to open the Run dialog box, then type “control”and press Enter.
- In the Control Panel, select Large icons from the View by drop-down menu and click on the Sound icon.
- In the Playback tab, right-click on your headphones and select Properties.
- Under Controller Information, click Properties.
- Next, click on Change Settings.
- Go to the Driver tab and select Update Driver.
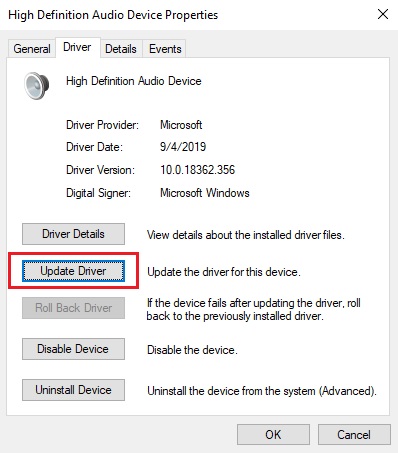
- Let the Windows Search automatically for updated driver software.
After updating your audio driver, restart your PC and check to see if the microphone is working.
Fix 5: Configure the SteelSeries Engine software
For your Arctis 7 headset to work properly, you should download and install the latest SteelSeries Engine software. This Engine has many important configurations that are required to unlock the full functionality of the headset. Here’s how to do it:
- Download the latest SteelSeries Engine software.
- Once the download is complete, open the setup and install the Engine.
- Open the SteelSeries Engine, then disconnect the Arctis 7 from your computer and reconnect it.
- Once the engine recognizes your headset, click on the device name displayed.
- This will open the device configurations. Click on the Live Mic Preview.
- Test your microphone to see if it’s working correctly.
- Adjust the settings to your preference and minimize the application.
READ NEXT
![Fix: Error code 0x800704cf on Windows 10 [Step-by-Step Guide]](https://digiworthy.com/wp-content/uploads/2020/10/Error-code-0x800704cf-feat-img-768x427.png)


![[Fixed] “Systemctl Command not Found” Error](https://digiworthy.com/wp-content/uploads/2019/05/linux-systemctl-command-768x383.jpg)
![[Fixed] Valorant Van 0 Error Code: Ultimate Solutions Guide](https://digiworthy.com/wp-content/uploads/2023/05/valorant-van-0-error-code-768x432.jpg)